
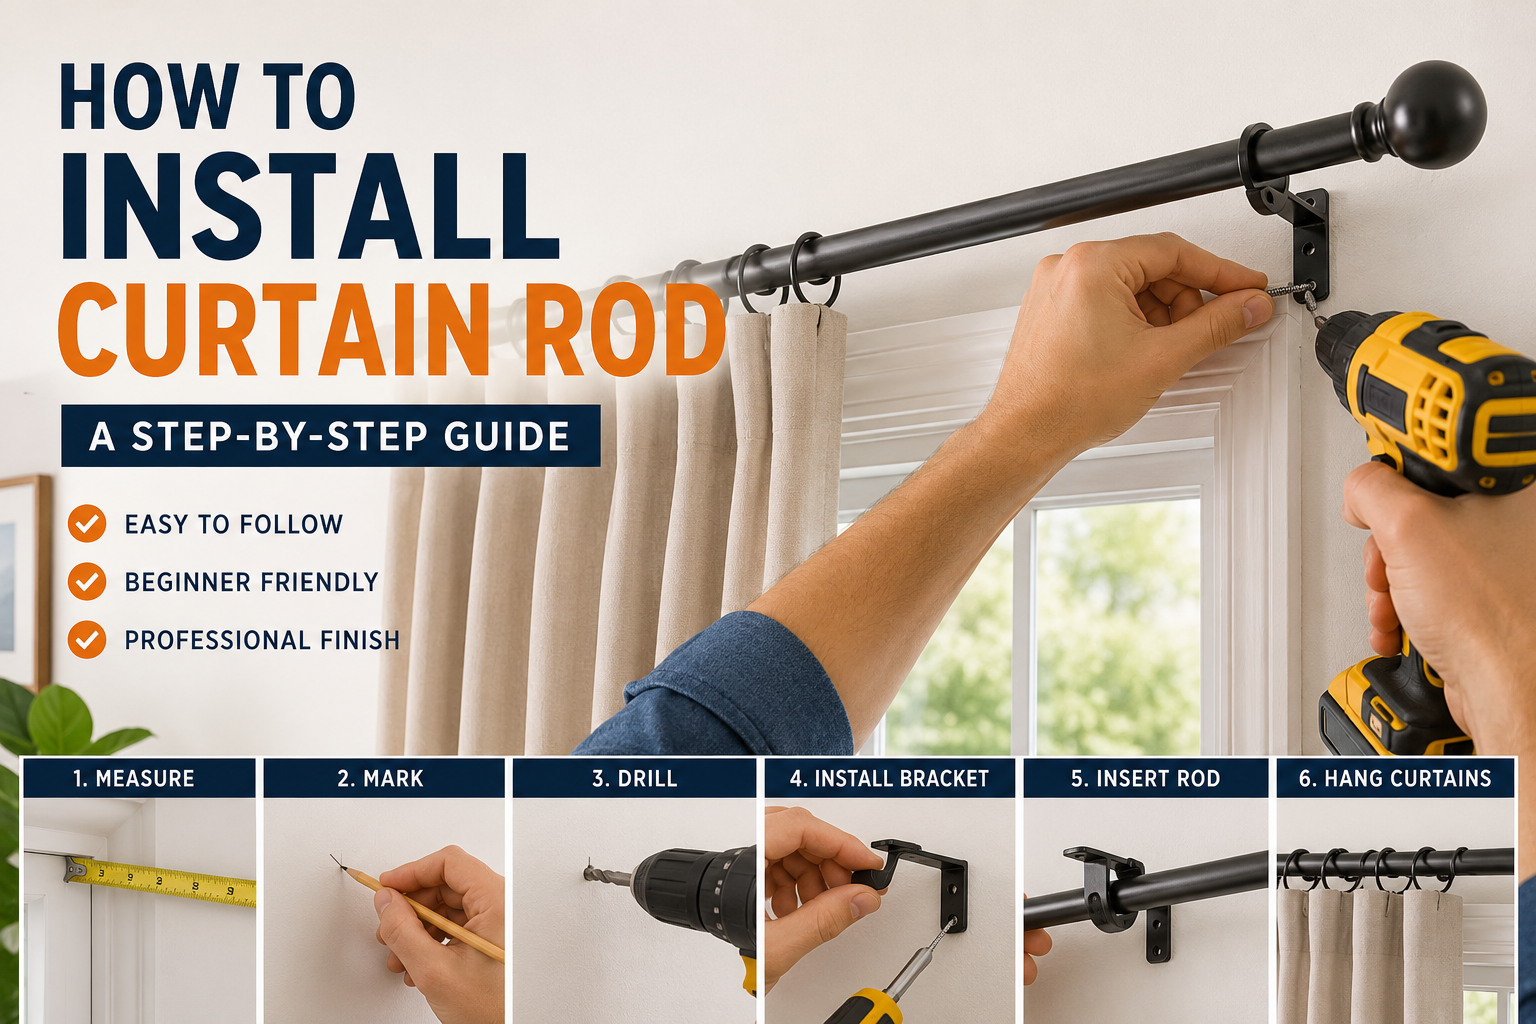
How to Install Curtain Rod: Step-by-Step DIY Guide
Learning How to Install Curtain Rod is one of the simplest home improvement projects that can instantly enhance the appearance and functionality of any room. Whether you’re hanging lightweight curtains for decoration or blackout curtains for privacy, proper installation ensures your curtain rod remains secure and looks professionally aligned.
Many homeowners hesitate because they worry about drilling holes, measuring incorrectly, or damaging their walls. Fortunately, installing a curtain rod is a beginner-friendly DIY project when you understand the right tools, measurements, and techniques.
This guide walks you through the entire process—from choosing the right curtain rod to mounting it securely on different wall types. You’ll also learn how to avoid common mistakes, determine the ideal curtain height, and create a polished finish that complements your space.
Key Takeaways
- Measure carefully before drilling any holes.
- Choose the right curtain rod and wall anchors for your wall type.
- Install brackets level and evenly spaced for maximum support.
- Mount curtain rods higher and wider than the window for a larger visual effect.
- Test the installation before hanging heavy curtains.
Main Article
Why Proper Curtain Rod Installation Matters
A properly installed curtain rod does much more than hold curtains. It improves the room’s appearance, protects your walls from unnecessary damage, and prevents the rod from sagging or falling over time.
Correct installation also allows curtains to open and close smoothly while providing adequate support for heavier fabrics.
Benefits include:
- Better room aesthetics
- Increased curtain durability
- Improved privacy
- Better light control
- Stronger wall support
- Professional-looking results
Tools You’ll Need
Before starting, gather all necessary tools.
| Tool | Purpose |
|---|---|
| Tape Measure | Measure window dimensions |
| Pencil | Mark bracket locations |
| Level | Keep brackets perfectly straight |
| Drill | Create mounting holes |
| Drill Bits | Match screw and anchor sizes |
| Screwdriver | Tighten mounting screws |
| Wall Anchors | Support installation on drywall |
| Screws | Secure brackets |
| Stud Finder (Optional) | Locate wall studs |
| Ladder or Step Stool | Reach higher windows safely |
Having everything ready makes the installation process much faster and easier.
Materials You’ll Need
Depending on your project, you’ll need:
- Curtain rod
- Mounting brackets
- Finials
- Screws
- Wall anchors
- Curtains
- Curtain rings (if required)
Choose a curtain rod that matches both your room’s style and the weight of your curtains.
Choosing the Right Curtain Rod
Not all curtain rods are created equal. Consider these factors before purchasing one.
Curtain Weight
- Lightweight curtains need standard rods.
- Medium-weight curtains require stronger metal rods.
- Heavy blackout or thermal curtains need reinforced rods with center supports.
Adjustable Length
Most curtain rods are adjustable, making them suitable for multiple window sizes.
Decorative Style
Curtain rods come in finishes such as:
- Black
- Bronze
- Brass
- Chrome
- Matte nickel
- White
- Wood
Choose a finish that complements your existing décor.
Measure Your Window Correctly
Accurate measurements are the foundation of a successful installation.
Measure:
- Window width
- Window height
- Distance from ceiling
- Available wall space
A common recommendation is to extend the curtain rod 6–12 inches beyond each side of the window. This makes windows appear larger and allows more natural light when curtains are open.
Mount the rod approximately 4–6 inches above the window frame, or higher if you want to create the illusion of taller ceilings.
How to Install Curtain Rod Step by Step
Step 1: Mark Bracket Locations
Use your tape measure and pencil to mark where each bracket will be installed.
Double-check that both sides are at the same height.
Step 2: Use a Level
Place a level across the two marks.
Adjust if necessary until everything is perfectly horizontal.
Skipping this step often results in crooked curtains.
Step 3: Locate Wall Studs
If possible, mount brackets directly into wall studs.
Studs provide significantly stronger support, especially for heavy curtains.
If studs aren’t available, use appropriate drywall anchors.
Step 4: Drill Pilot Holes
Drill small pilot holes where you’ve marked the bracket positions.
Pilot holes help prevent wall damage and make screw installation easier.
Step 5: Insert Wall Anchors
If mounting into drywall without studs:
- Insert drywall anchors.
- Tap them gently into place.
- Ensure they’re flush with the wall.
Step 6: Attach the Brackets
Secure each bracket using screws.
Avoid overtightening, as this can damage drywall anchors.
Check the level once more after tightening.
Step 7: Assemble the Curtain Rod
Attach:
- Finials
- Curtain rings (if applicable)
- Curtains
Slide everything onto the rod before placing it on the brackets.
Step 8: Place the Rod onto the Brackets
Set the curtain rod into the mounted brackets.
Secure any locking screws if included.
Step 9: Test the Installation
Open and close the curtains several times.
Ensure:
- The rod stays level.
- Brackets remain secure.
- Curtains slide smoothly.
- Nothing shifts under weight.
Installing Curtain Rods on Different Wall Types
Drywall
Use quality drywall anchors when studs aren’t available.
Wood
Wood surfaces generally require only pilot holes and wood screws.
Concrete
Use a masonry drill bit along with concrete anchors.
Brick
Drill into the mortar whenever practical and use masonry anchors designed for brick installations.
How High Should You Hang a Curtain Rod?
Many designers recommend installing curtain rods higher than the window frame.
| Placement | Visual Effect |
|---|---|
| Just Above Frame | Traditional appearance |
| 4–6 Inches Above | Balanced modern look |
| Near Ceiling | Makes ceilings appear taller |
Higher-mounted rods create a more elegant appearance and make windows seem larger.
Common Curtain Rod Installation Mistakes
Avoid these common errors:
- Forgetting to use a level
- Measuring only once
- Choosing a rod that’s too short
- Using weak wall anchors
- Installing brackets too close together
- Hanging curtains too low
- Ignoring curtain weight
- Overtightening screws
Taking a few extra minutes to measure carefully can prevent costly repairs later.
Tips for a Professional Finish
Small details can make a significant difference.
- Steam or iron curtains before hanging.
- Keep curtain panels just touching the floor for a tailored look.
- Center decorative finials evenly.
- Use matching hardware finishes.
- Install center supports for wide windows.
- Wipe away pencil marks after installation.
Troubleshooting Common Problems
Curtain Rod Is Crooked
Loosen the brackets, use a level, and adjust before tightening.
Rod Keeps Falling
Use stronger anchors or install brackets into studs.
Curtains Don’t Slide Easily
Ensure curtain rings fit the rod properly and remove any burrs or rough spots from the rod.
Brackets Feel Loose
Replace damaged anchors with heavier-duty versions or relocate the bracket to a stud.
Curtain Rod Installation Tips for Renters
If you’re renting, avoid permanent wall damage whenever possible.
Options include:
- Tension curtain rods
- No-drill adhesive brackets (within weight limits)
- Existing mounting holes from previous installations
Always check your lease before drilling into walls.
Maintenance After Installation
Routine maintenance keeps your curtain rod looking and functioning like new.
- Dust the rod regularly.
- Tighten loose screws every few months.
- Inspect anchors if hanging heavy curtains.
- Clean metal finishes with a soft cloth.
- Replace worn curtain rings when necessary.
Proper care extends the life of both your hardware and curtains.
Frequently Asked Questions
1. Can I install a curtain rod without drilling?
Yes. Tension rods and certain adhesive mounting systems work well for lightweight curtains. However, traditional drilled brackets provide the strongest and most durable installation.
2. How far should a curtain rod extend past the window?
Most experts recommend extending the rod 6 to 12 inches beyond each side of the window. This creates a fuller look and allows more natural light when the curtains are open.
3. What is the best height to install a curtain rod?
A curtain rod is typically installed 4 to 6 inches above the window frame. Mounting it closer to the ceiling can make the room appear taller.
4. Do I need wall anchors?
If you’re not installing the brackets into wall studs, wall anchors are highly recommended to provide secure support, especially for medium or heavy curtains.
5. Can one person install a curtain rod?
Yes. Most standard curtain rod installations can be completed by one person with basic tools. Having a second person can help when installing extra-wide rods.
6. How long does it take to install a curtain rod?
For most homeowners, installation takes between 30 and 60 minutes, depending on the wall type and window size.
7. What type of curtain rod is best for heavy curtains?
A sturdy metal rod with reinforced brackets and a center support is the best choice for heavy curtains such as blackout or thermal panels.
Conclusion
Knowing How to Install Curtain Rod is a valuable DIY skill that can dramatically improve the appearance and functionality of your home. With accurate measurements, the right tools, and careful installation, you can achieve a secure, professional-looking result in less than an hour.
Whether you’re updating a single room or furnishing an entire home, following these step-by-step instructions will help you avoid common mistakes and ensure your curtain rod remains sturdy for years to come. By selecting the appropriate hardware, mounting the brackets correctly, and paying attention to finishing details, you’ll create a polished window treatment that enhances both style and practicality.








Leave a Reply